Songwriting: Motivation during the practice process

Many songwriters and producers eventually run into the same problem during their practice process during a course or music education. We would all like to have the latest world hit on Spotify tomorrow, but the reality is that it doesn’t work that way. Creative people see progress quickly, but the biggest problem is that often needs time and attention. A constant form of practice is the best path to take towards the destination of success. Getting used to and learning new rhythms and habits is essential but creating a realistic pattern of expectations also helps. At the Wisseloord Academy we guide you through the entire practice process in a way that suits you and in a personal way.

Learning new habits

If you want to get better at songwriting and/or producing, there’s only one thing to do; practice, ask for feedback and work hard. However, most people working in music have an irregular life schedule. Many musicians, especially at the beginning of their career, still have a job in addition to music for a living. Practicing their creative skills can therefore sometimes miss out. The only way to handle this is to make hard agreements with yourself; plan your practice moments per week and do not deviate from this schedule. As soon as you start planning instead of working on your music on spec, you will see that you will work more hours and as a result your performance and progress will improve.

Look at your progress

It is a habit of musicians to look up the comparison with their musical heroes. Often these are also the people who sparked your interest in making music. It’s okay to pull yourself up to that or compare yourself to it, but don’t forget that it can be an inhibition for your own process. Many people lose motivation after constantly making the same comparison and coming to the same conclusion; I’m not quite at that level yet. What they forget, however, is to look back at what steps have already been taken. Go and compare your work from three years ago with the work you are making now. You will probably notice that there is great progress in this. Making a career in music is often a long road, so occasionally appreciate the steps you have already taken. You will see that this does wonders for your motivation.

Intro to studio monitors

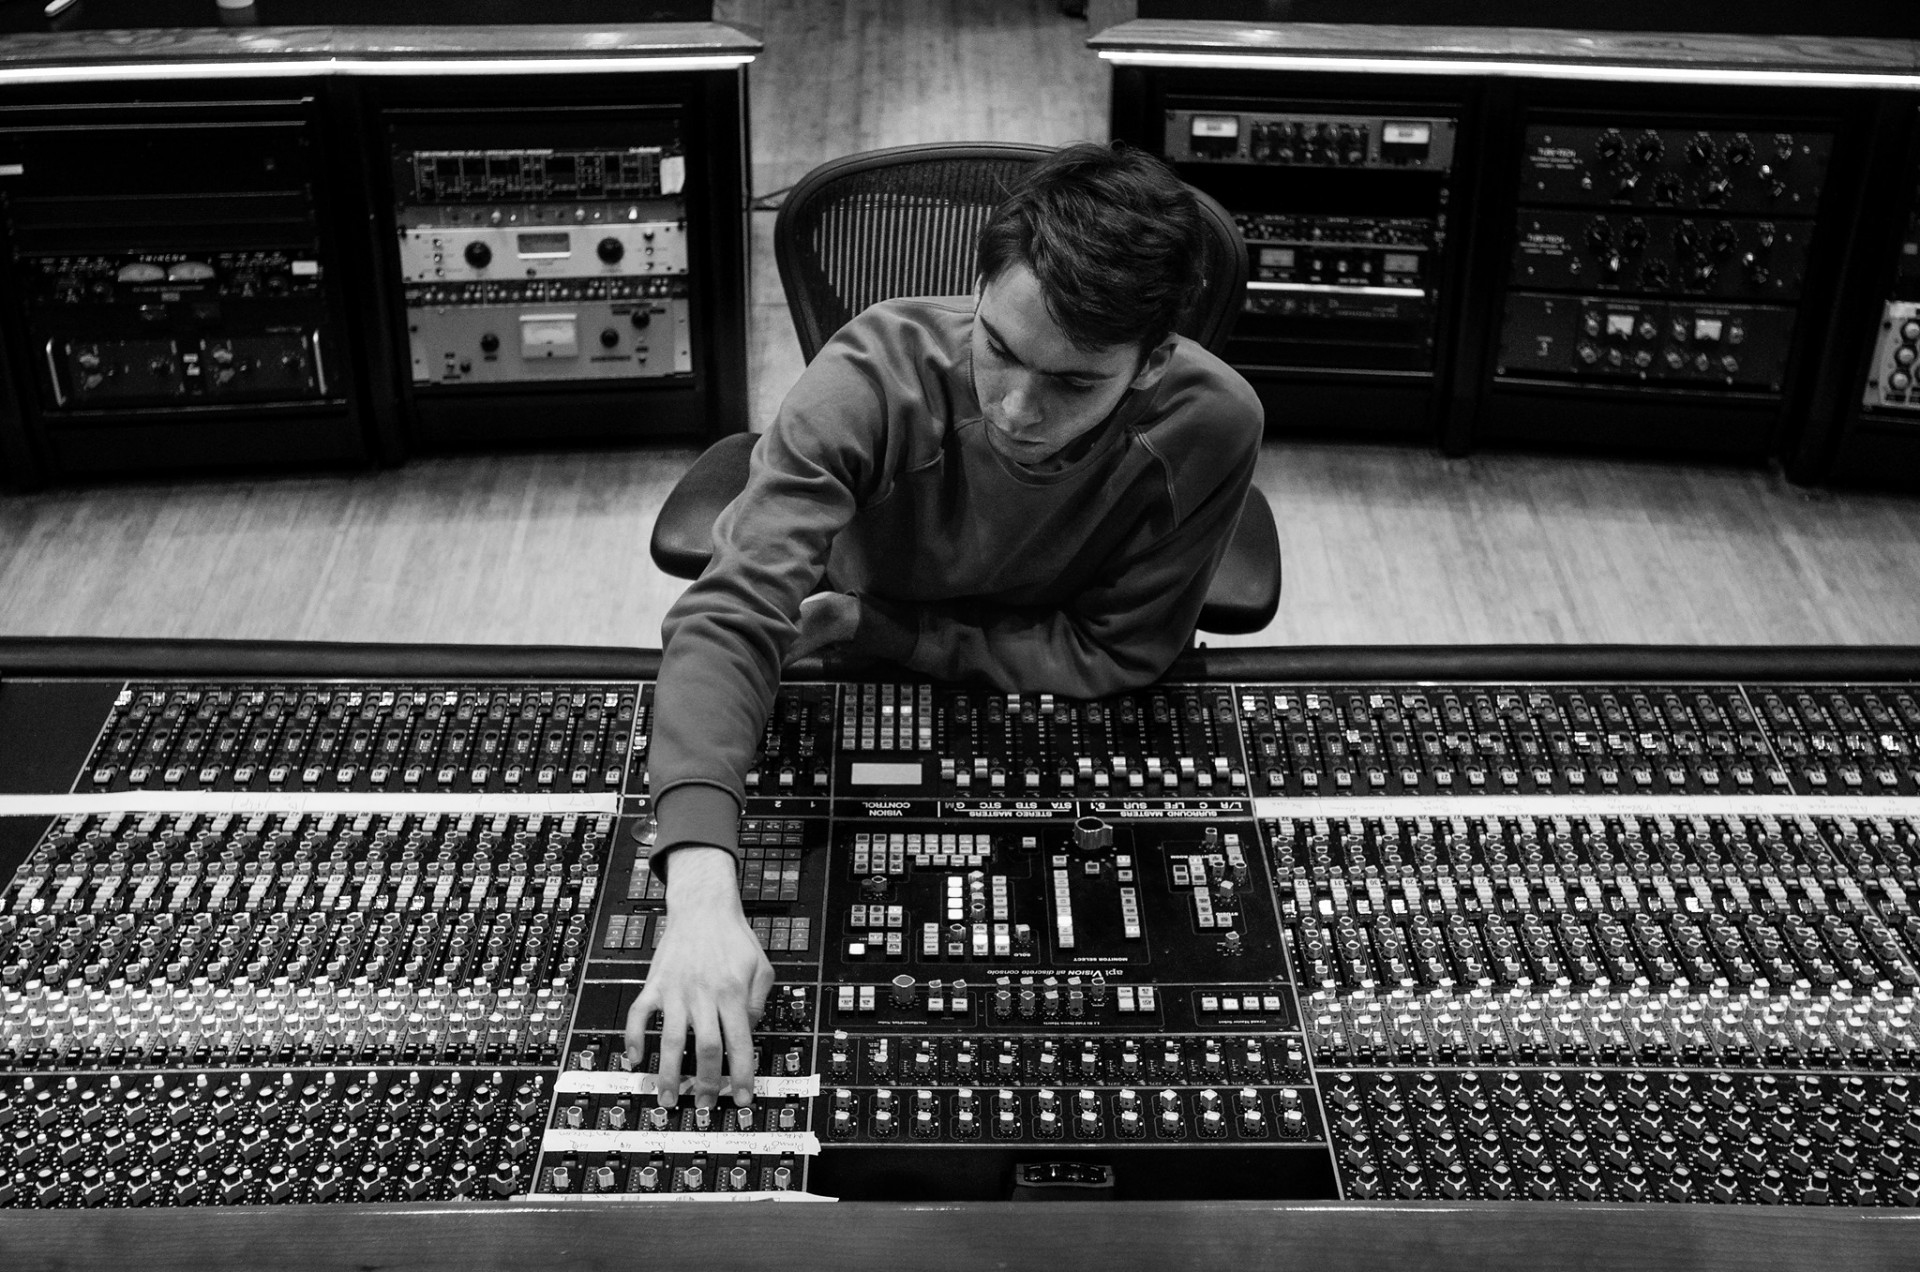
One of the most important parts of your studio setup is, nexts to the acoustics, a good set of monitors. From the start until the end you are trying your best to make your production or mix sound as good as possible. You invested heavily in a fancy laptop, an expensive interface, every plugin imaginable, and a nice microphone. The final part in your chain, your monitors, should matter just as much. Without an accurate representation you can’t make reliable decisions about your mix.

Studio monitors are fundamentally different than consumer loudspeakers. Those loud speakers often have a boost in the low and high end to make everything sound more ‚hyped‘ and bigger than life.

In your studio that is something you want to avoid at all costs. You want your monitors to have an honest and flat representation of what you’re doing. A flat response might not sound as sexy, but it will make your mix translate better to other mediums.


Flatter is better

The human hearing goes from roughly 20Hz to 20Khz. As you’re getting older, this range gets smaller from the outside in. A good studio monitor has a frequency response from 40Hz to 20Khz.

If you were to make a graph of the frequency response of consumer grade loudspeakers you would probably notice a bump in the lower and upper frequencies. Studio monitors are aiming for a completely flat curve.


If you look at the specs of studio monitors it will often say something such as ‚40Hz – 20Khz +/-1dB/2dB‘. This means that the deviation of the frequency response can be as much as 1 or 2 dB higher or lower. Most monitors are coloured in some way, because it is extremely difficult to get it completely flat. The more expensive the monitor, the smaller this deviation is.


What makes a monitor?

A monitor is made out of the following parts:

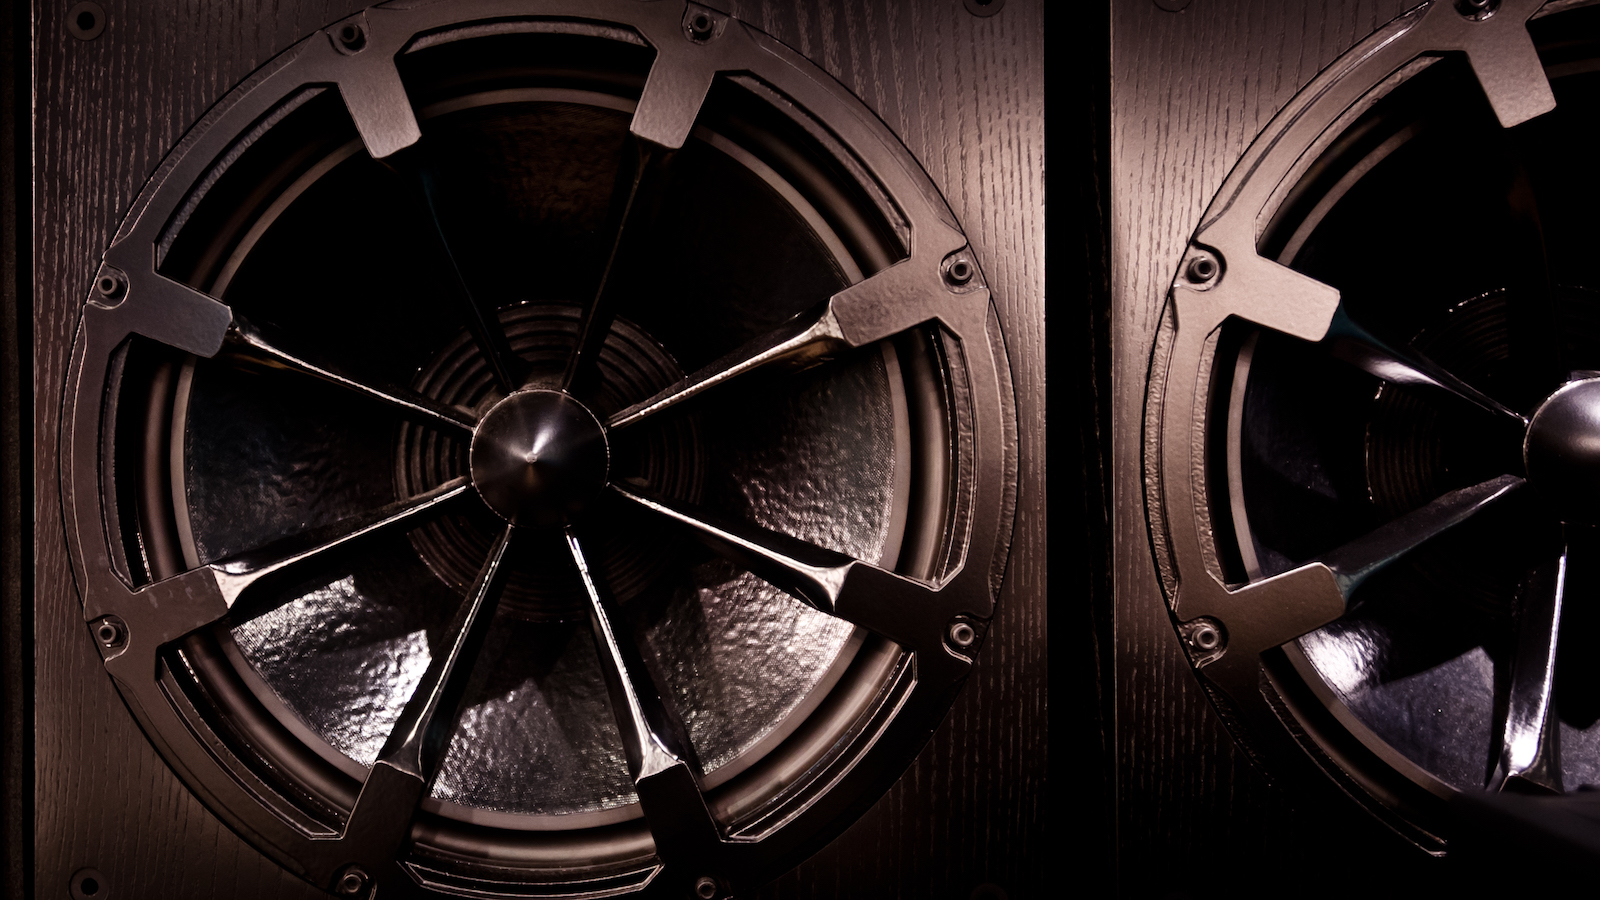
Cabinet: the housing of the monitor. Often made out of a rigid material to prevent it from vibrating with the sound and thus impacting the frequency response;

Tweeter: the smallest driver that plays the higher frequencies of your monitor;

Woofer: the biggest driver that plays the lower frequencies of your monitor;

Bass reflex port: some monitors have an opening on the back to let air pressure out. This helps with the distribution of low end energy to have a better translation in those frequencies;

Main input: this is an XLR input, but sometimes a TRS input is added.

Other controls: you often find an on/off switch, a dedicated EQ section (to adjust your monitor to your space) and often a volume knob.

Choices, choices, choices

It probably won’t surprise you that the prices of monitors can go quite high. The most expensive studio monitors can cost up to €80.000. Each. You can say there is quite a bit of choice between low budget monitors and those.

Next to that you have the choice out of active and passive monitors. Passive monitors need an external amplifier, while active monitors have their own internal amplifier. For you home studio I would advise to you to get a set of active monitors. It will cut down some of the cost, and the amplifier is made specifically to work together with the monitor.

Third and finally you have the option between nearfield, midfield, and farfield monitors. In other words: those monitors are created for specific distances between the listener and them. Most (home) studio’s will tend to use nearfield monitors, because more often than not, the listener is closer to them.

Monitoring position

It is important to properly position your monitors in your space, but also mind your monitoring position.

Always put monitors at least half a meter from the wall, because the reflections from the wall will prevent a flat frequency response.

Place the monitors apart in a way you will get a equilateral triangle with the monitors and your head each being a point of that triangle.

Make sure your ears are level with the tweeters.

You often see people putting their monitors on their sides just because it looks cool. Make sure you only do this with monitors that are actually made for this position. Monitors that are built to be in an upright position will have a completely distorted frequency response when put on their sides.

Monitor power

Monitors come at a range of power. Louder doesn’t necessarily always mean better. In a small space you wouldn’t need a monitor with massive power.

When purchasing a monitor look for the term Maximum SPL or Sound Pressure Levels. This indicates how loud a monitor can be before it starts to distort. This is measured in dB. Aim for monitors between 85 and 110dB SPL.

Speaker sensitivity also matters. This tells you something about the volume you get for that power. The higher the sensitivity number, the louder your monitor will be. Aim for at least 88dB, but even better above 100dB.

Finally there is the signal to noise ratio, in short S/N. Again, the higher the better, because that means you have a louder signal relative to the noise a monitor makes.


When buying a monitor pay attention to frequency response, power and size. Too small won’t help you, but too big will do more harm than good in a small space. Yet try to buy a monitor as good as you can get within your budget. It is a purchase you make for a lot of years, so it’s good to look ahead. Treat yourself once in a while.

Modi

Potresti pensare che ci siano solo due tipi di scale nella musica: minore e maggiore. Pensa di nuovo. Ci sono molti colori che puoi aggiungere alla tua musica. I modi della chiesa (o solo i modi) sono un ottimo esempio. Per capirli non serve una laurea in conservatorio o seguire i corsi di una scuola di musica. Molte tracce pop sono scritte nel modo della chiesa. Consideralo come un modo per dare alla tua musica un suono meno ovvio.

Cosa sono i modi?

I modi hanno origine nel Medioevo come una maniera per avere una scala più ampia nella musica.

Sono stati usati nella stessa maniera in cui ora usiamo scale minori e maggiori. I modi sono utilizzati ancora oggi, ma in modo più moderno.

Ci sono sette modi:

  • Ionico
  • Dorico
  • Frigio
  • Lidio
  • Misolidio
  • Eolico
  • Locrio


Ogni modo ha il suo colore e le sue caratteristiche. Possono essere sia minori che maggiori, ma con un proprio suono.

Sono abbastanza facili da riconoscere.

Ti parlerò di ogni modo relativo alla scala di Do maggiore. Questa scala non ha note diesis o bemolle e quindi utilizza solo i tasti bianchi del pianoforte.

  1. Do Ionico

Lo Ionico è la scala maggiore così come la conosciamo. Tutte le tracce in maggiore usano questa scala.


    1. Re Dorico

    Col Dorico iniziamo dalla seconda nota della scala di Do maggiore: la nota Re. Annoti la scala in Do, ma rimuovi la prima nota e inizi dal Re.


È simile a una scala di re minore, ma ha una sesta maggiore invece di una sesta minore.

Un esempio ben noto è Watermelon Sugar di Harry Styles. Quella traccia è scritta in Re Dorico.


    1. Mi Frigio

    La modalità frigia inizia col Mi. Potrebbe sembrare una scala minore, ma ha una seconda minore invece di una seconda maggiore. Questo è allo stesso tempo un suono molto riconoscibile.


Humble di Kendrik Lamar è nel modo frigio.


  1. Fa Lydio

Il Fa Lidio parte dalla quarta nota della scala di Do maggiore: il Fa.

È una scala maggiore con una quarta aumentata.

Un ovvio esempio nella musica moderna è la sigla dei Simpson.


  1. Sol Misolidio

Il Misolidio è una scala maggiore con una settima minore invece di una maggiore.


Royals di Lorde è in Sol Misolidio.


  1. La Eolico

Il modo eolico è la scala minore naturale che conosciamo oggi. Pensa a qualsiasi canzone in minore, utilizza la modalità eoliana.


  1. Si Locrio


Di tutte i modi, il locrio è quello meno utilizzato. Ha un carattere molto distinto che è difficile da definire. Scrivere musica in modo locrio ha spesso più a che fare con una sfida teorica rispetto a scrivere effettivamente una buona melodia. Ma ci sono alcuni esempi che lo usano e dove funziona davvero!

Ad esempio, Sad But True dei Metallica utilizza il modo locrio in alcune parti. 


Puoi usare i modi della chiesa come un’opportunità per espandere il tuo repertorio. Ti senti come se fossi bloccato in un loop scrivendo solo in maggiore e minore? Scegli una modalità e prova a scriverci una melodia. L’ispirazione arriverà presto!

Microphone 101

It might seem obvious, yet it is good to realise that your microphone choice has a massive impact on your recording. If you know the characteristics of each type of microphone, you can make the right decision for any recording.

How does a microphone work?

In essence each microphone is a transducer. A transducer is an electrical device that transform energy from one form into another form. In this case the microphone transforms sound (AKA acoustic energy) into an audio signal (electrical energy).

As you might know sound is nothing more than a change in air pressure. The one component that all mics have in common is the diaphragm. When sound hits the diaphragm it vibrates, and that vibration is transformed into an electrical signal.

This basic knowledge of physics everything you need to know as a beginner musician, singer or producer.

Different types of microphone

The choice of microphone is seemingly endless. Each one has its own characteristics. Yet they all fall under the same three categories.

  • Dynamic microphones
  • Condenser microphones
  • Ribbon microphones

Dynamic microphones

If you think of a mic, you’re probably thinking of the archetype of each mic: the SM58. That mic is such a good example that everybody probably has seen one of them at some point in their life. A dynamic microphone is the most common type of of microphone. They are relatively cheap and can be used in both studio as well as live settings. They are sturdy and durable in all kinds of situations.

They are also less sensitive than a condenser mic. They pick up less details and are therefore more used in live settings than in the studio. Yet they have their use there too.

Condenser microphones

The condenser mic is the go to mic in every studio. They are sensitive mics, ideally suited to capture every tiny detail. For this exact reason you’d probably refrain from using a condenser mic on a stage, because it will quite easily create feedback.

There are large and small diaphragm condenser mics. A small diaphragm condenser is used primarily to smoothly capture high frequencies. It won’t pick up as many of the lower frequencies, which can often be an advantage for the right occasion.

A large condenser mic picks up the full frequency range, which often is an advantage, but sometimes is not.

Every condenser mic needs +48v (phantom power) to work.

Ribbon mics

This final category of mics are less commonly used, but they have there use and strengths nonetheless. Ribbon mics are relatively expensive and very fragile. More strongly put: where condenser mics net phantom power to work, you will damage a ribbon mic if you put +48v through it.

The name ribbon mics comes from a metal ribbon suspended in a magnetic field. This ribbon is the transducer that transforms a sound into an electrical signal.
Ribbon mics are usually a bit less bright than condenser mics, and that is why they are so coveted. Higher frequencies can sound more soft and recordings can sound pleasingly warm.

Because they don’t produce a lot of gain ribbon mics often need an external preamp to get enough volume out of them.

Polar patterns

Not every mics picks up sound in the same manner. There are many different pick up patterns (or better: polar patterns), that all have their use.

  • Omni directional: picks up sound from any direction evenly.
  • Cardioid: primarily picks up sound from the front, with a slight rejection on the side and barely at the back. If you look at the pattern on a diagram it will look like a heart, hence the name;
  • Hyper cardioid: similar to the cardioid mic, but less sensitive on the sides and the back;
  • Super cardioid: picks up just as much at the front as a cardioid mic, but with even more rejection on the side and back than a hyper cardioid mic;
  • Bi-directional/figure eight: picks up from both the back and the front of the mic, while rejecting the sides;
  • Shotgun: appropriately named because you point the mic at a source to record only that, while greatly rejecting sound coming from the sides and the back. Is often used in outdoor recordings and television.

Frequency response

Every microphone has its own sound. It is common sense to have a good look at the frequency response curve of each mic before using it. A microphone can often complement or aggravate a sound. You wouldn’t want to give someone with a harsh vocal sound a bright microphone, because that would only accentuate the problem area’s.

There are hundreds and hundreds of options and not everyone has the luxury to be working in a studio or to have a big mic locker at home. Therefore it is good to know what kind of microphone you need before buying one. What do you want to record, in what room, and what sound do you have in mind?

Do proper research, but even better, just try them!

Loudness and LUFS

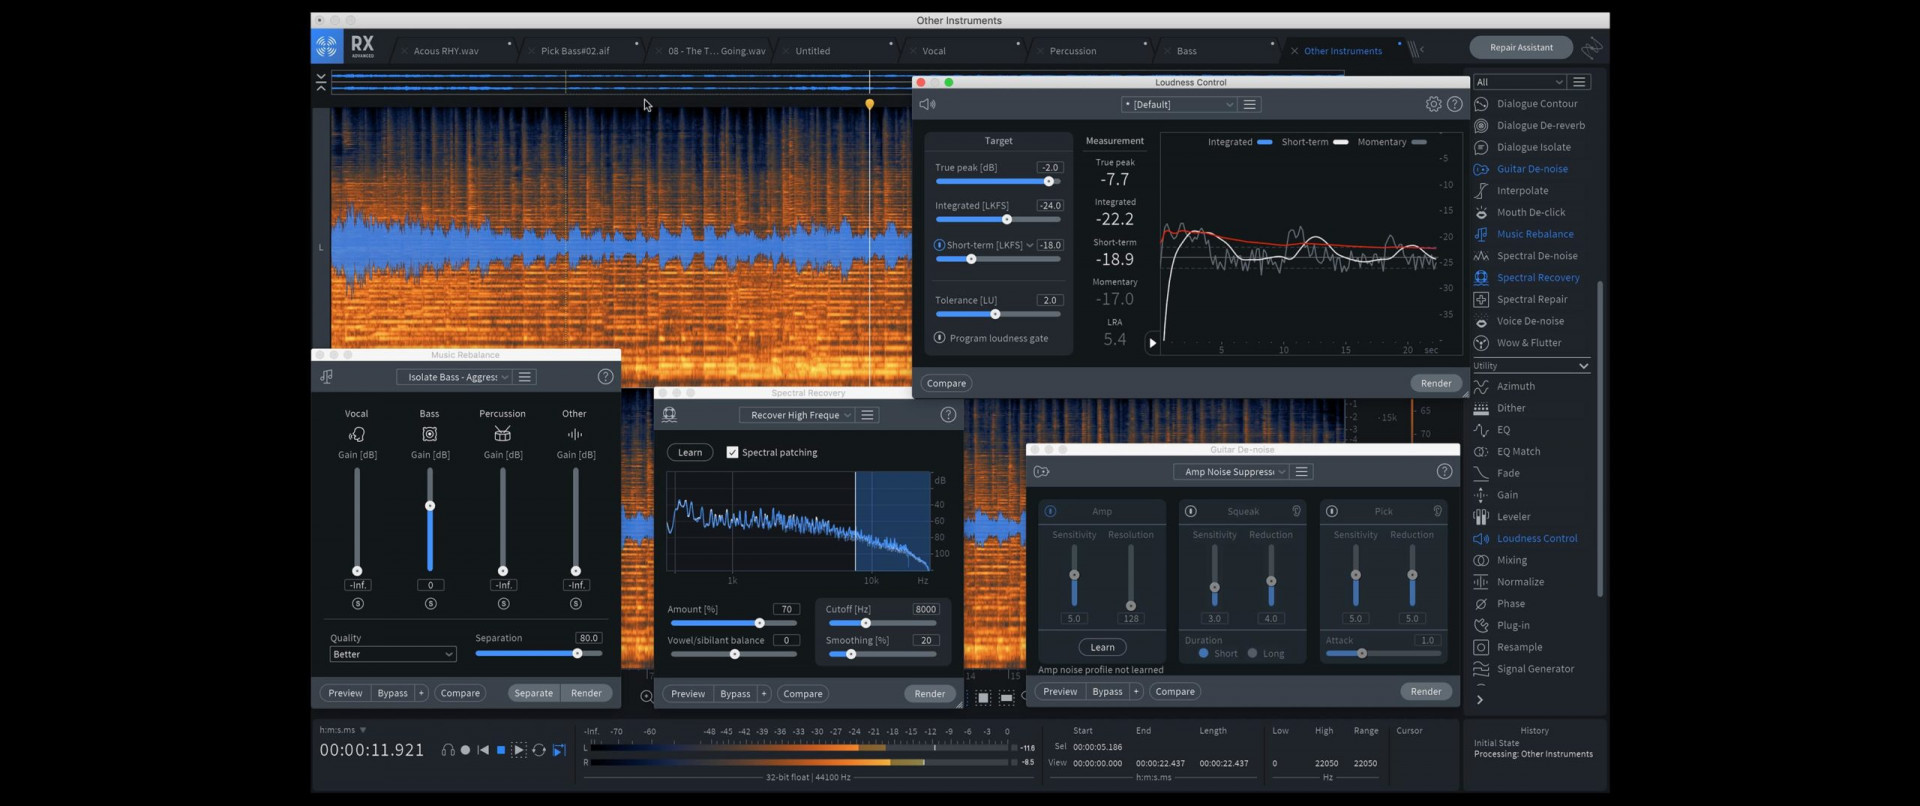
As soon as you get to a certain level with your music and want to have it mixed and mastered, you will encounter the term LUFS. LUFS is a way of measuring the loudness of your music. If you understand this, you might also understand why you have to turn up your volume when listening to certain tracks, even though you didn’t change anything at first.

LUFS stands for Loudness Units relative to Full Scale. It is a standardised scale based on how people perceive the volume and energy of sound.

This scale is used worldwide to get a consistent result on TV, film, radio and streaming services.

It might sound complicated, but as a music producer it might benefit you to look into it.

Like the pro’s

Without you even realising it, all professional music and sound you hear in your day to day life is measured alongside this scale.

Mastering and mixing engineers and producers try their best to get their tracks to sound as consistent as possible on every medium. LUFS is one of the criteria how you can measure the quality of your track. This way an engineer will have better insight in how your track will translate.

The biggest issue with getting consistent results is loudness. It appears to be more difficult to get your volume the same on each system.

If you think about loudness you are probably thinking of decibels, but that isn’t the entire story. Loudness has mostly to do with your perception of sound and how the energy of a track is divided over the frequency spectrum.

Because not everybody is or as to be educated in psycho-acoustics, scientists came up with a scale that combines the intensity of a signal with human perception: LUFS.

Integrated LUFS

Integrated LUFS, or integrated loudness, tells us something about the overall loudness of a track. It takes the average over the entire duration. With just the peak and RMS meters of your DAW it is often difficult to measure the loudness of your full track, since both peak and RMS meters are momentary values: a snapshot. Integrated loudness tells us something about the full track, and it is for that reason that film and TV, but also streaming services maintain standardised units of integrated LUFS.

Short term LUFS

Where integrated LUFS tells us something about the loudness of your entire track, short term LUFS tells us something about the final three seconds of an audio file. It is also something to pay attention to, since certain moments of your track might still be quite soft, even though the integrated LUFS might seem fine.

Momentary LUFS

Momentary LUFS is the shortest value in terms of loudness. If measures the loudness of the last 400 milliseconds of audio. You can slightly compare it to the peak meters of your DAW.

Why should I bother?

With the rise of the CD, music labels wanted their music to be louder than that of the competition. Because louder music was thought to sound better, but, more importantly, would lead to more sales. Enter the loudness war.

The streaming services managed to reign in the battle for loudest track, by setting specific standards of LUFS for their music. No matter how loud you would master a track, a streaming service would still turn it down to what they deem appropriate. Also see: https://www.loudnesspenalty.com

If you understand LUFS, you also understand loudness isn’t only related to gain. A good mastering engineer knows exactly how to get your track to a professional level.

Yet don’t get to hung up on this concept as a music producer. In the end it is about making your track sound great. If that means just turning up the volume, then why not just do that?

Acoustic treatment

It requires a surprisingly low amount of money to get your home studio at a more professional level. You mainly have to invest some time. It often looks more complicated than it actually is. With a relatively small amount of adjustments in your space you can make all the world of a difference. Both for the music producer mixing at home as a singer doing recordings.

What is acoustic treatment?

By treating your room you can improve booth the quality of your recordings as well as your mixes. By placing bass traps, absorbers and diffusers in a room you get a more balanced and controlled response.

Absorption and diffusion

There are two important concepts in acoustic treatment we have to know to improve our room.

The first method we will use to prevent unwanted frequencies to reflect back to us is absorption. Absorbers are panels made of a thick material that absorb the energy of sound waves. This is often where you make the most of a difference.

Diffusion does the opposite. In stead of trapping frequencies and absorbing them a diffuser scatters frequencies in many different directions.

Acoustic diffusers are made out of hard and rigid material, in different  heights and shapes to scatter sound waves in seemingly random directions.

In a lot of cases you would use a combination of both to improve your acoustics.

How to get to work?

Although every space is unique, you can still make a difference without know everything about acoustics.

The best place to start is where you would find the biggest problem areas in most cases: the corners.

Bass traps

Most corners suffer from low end build up. Low frequencies move slower and don’t reflect as much as high frequencies.

Because of that low frequency energy build up in your corners, the low end of your mix needs to compete with that. You often compensate for this by excessively boosting your low end. By tackling these area’s you can greatly improve your mixes.

Bass traps are prisms filled with absorption material placed in the corners from top to bottom. The bigger the prism (the deeper), the more effective it will be as a bass trap.

There are more corners in your room than where two walls meet. Also be wary of the corners between your ceiling and your walls.

Primary reflections

The next stap of absorption is to treat all first reflections. Primary reflections are the first reflections that bounce back to your monitoring position. By placing acoustic panels at these spots you will treat those reflections.

How do you actually know where those reflection points are? They usually are directly behind, next to, and above your monitoring position. An easy method to find them is by asking someone to hold a mirror next to the walls. If you can see the reflection of your monitors from your position in the mirror, than that is in fact a place where primary reflections will occur. Place your absorber there.

Diffusers

Diffusion is the other side of the coin. In stead of absorbing, diffusers will scatter reflections.

If you would stack your studio with absorbers, eventually your studio would feel lifeless. A space without any reflection feels unnatural. That’s why they goal is not to completely eliminate your acoustics, but to control it.

Diffusers are used to scatter late reflections. Since you have already tackled the primary reflections with your absorbers, you have to deal with late reflections another way.

Diffusers are made of rigid material in different shapes and sizes. The ratio and shape of each diffuser is calculated on the basis of your space.

A small home studio usually doesn’t need a diffuser, since a small space usually has already too many reflections. If you still want to place a diffuser, try to make sure you already covered all of the problems with absorbers.

The DIY way

Although it’s perfectly fine to buy acoustic panels for your studio, it is quite easy to make them, for a mere fraction of the price. If you do buy them, remember that mass is key. Acoustic foam, egg cartons or shallow panels, never or barely work.

Before you start spending all of your hard earned cash on Black Friday by buying the perfect plugin that will fix all of your issues, or buying that awesome set of monitors, try to consider if you shouldn’t treat your room first. Get a pack of rock wool, some wood and some fabrics and get your hands dirty. You might even surprise yourself.

Tips for vocal recordings at home

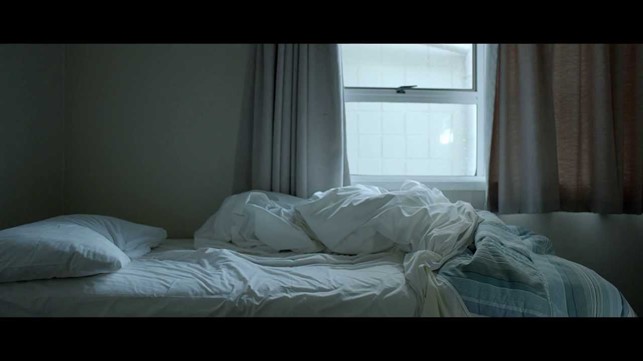
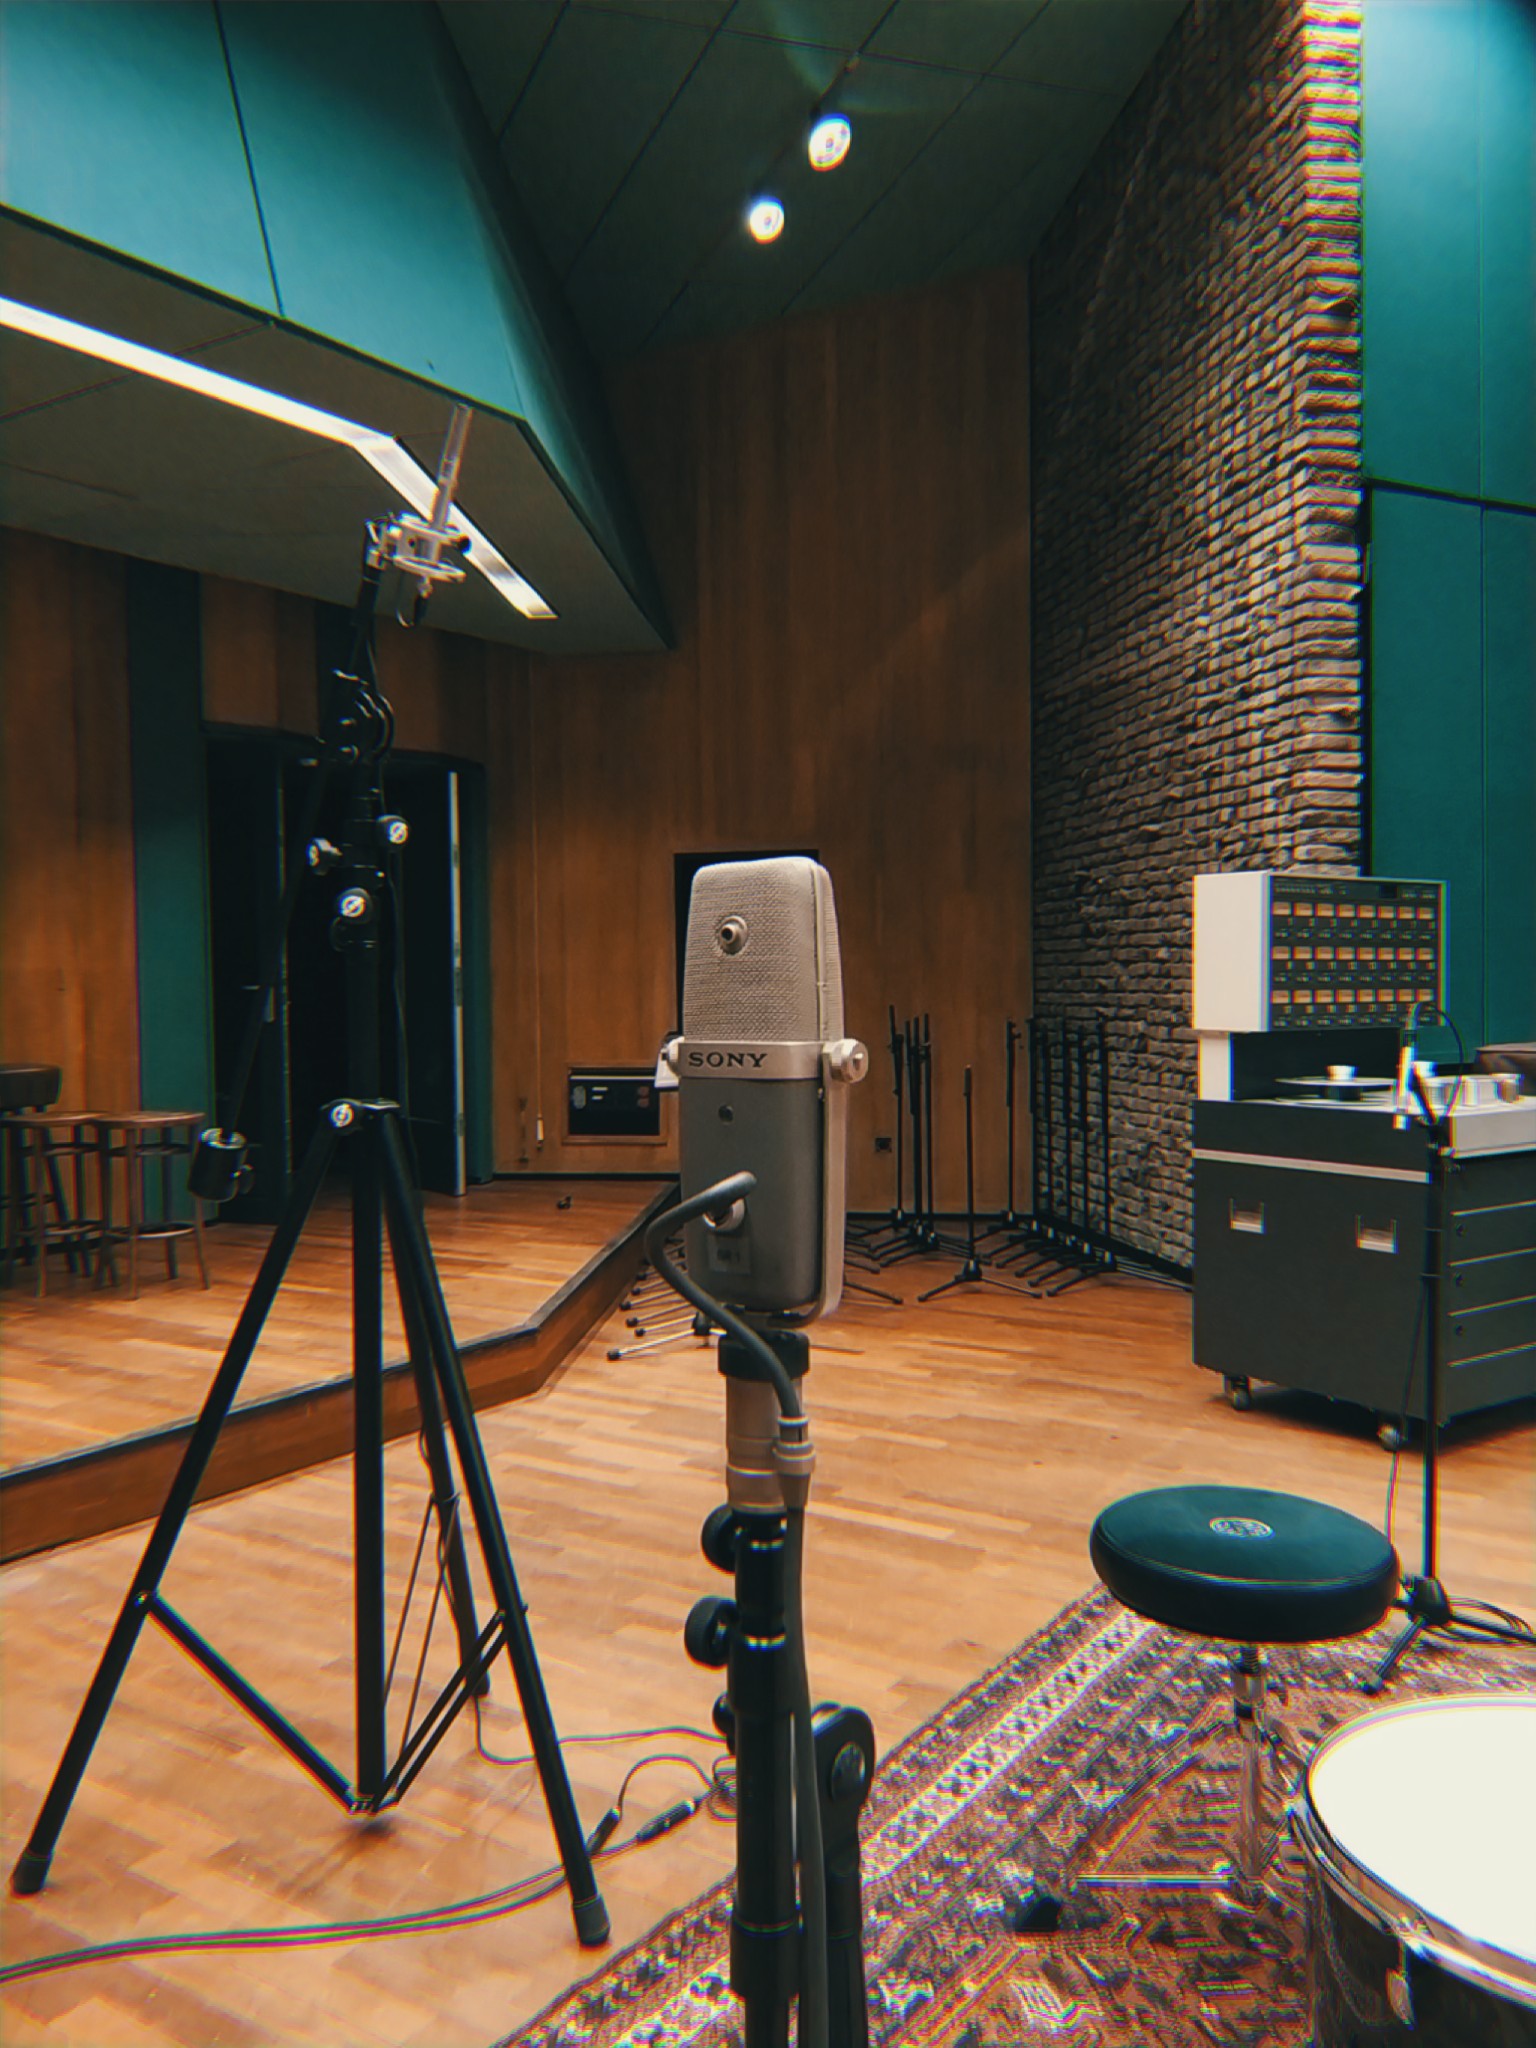
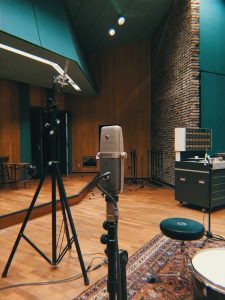
Most music producers will produce from their bedroom, which means all their recordings are done there as well. As the famous saying goes: ‚fix it in the mix‘, but what if the source is already perfect and you don’t need to fix anything?

Here are a couple of easy fixes to quickly improve your vocal recordings at home

  1. Recording in the wrong space

Look in your home for the room with the least amount of reflections. You are often inclined to use the most obvious room, but it pays off to look a bit further.
A recording in a room with a lot of reflections, such as a kitchen, bathroom, of even e bedroom with not a lot of furniture, will have a negative impact on the quality of your recording.Take a small to medium sized room with as much stuff in it as possible (rugs, chairs, couches, etcetera). All these things will reduce reflections and that will greatly improve your recording. Compression will only enhance the space you’re recording in, so it is a good idea to fix it from the start.

A common mistake is to record in your wardrobe. Admittedly, anything is better than nothing, but your clothes will never absorb all the frequencies by a long shot. Mostly high frequencies will be absorbed, while the lower, more problematic frequencies will bounce all over the place.

  1. Acoustic treatment

Not everything as the possibility of making your room suited for recordings. In stead it might be wise to work with what you have. An easy and very effective solution is to create your own vocal booth. Take a mattress (or preferably two, positioned in the letter V), and place them behind the singer. Don’t place them in front of him (so behind the microfoon). Contrary to what you think, this will have less of an impact on the recording. Most microphones reject audio at the rear end, so by placing the mattresses behind the singer, you will place the mattress there where it will be most effective.

  1. Mic placement

Not only are the acoustics of your room of importance, what also matters is where you place your mic in that same space. Try to avoid the exact center as well as being close to the walls. In the center of a room the mic will pick up reflections from all sides, where close the wall your mic will pick up more low and low mid frequencies. Everything in between the center and the sides will work fine.

You also need to be aware of how you place your mic in front of you or the singer. The closer the mic to the vocalist, the warmer it will sound. A good starting point is to keep about 12 centimeters between the singer and the mic. From there move closer or further away. If you move too far away  your recording will lack low end and body. Of course you can also take advantage from this. If you move too close, your recording will sound muddy.

You can also play with the vertical positioning of your mic. If you move the mic lower, towards your chest, you will get a more prominent low end. If you move it up, you will accentuate the higher frequencies.Finally also the angle of the microphone matters. If you turn the mic away from the singer you will slightly the reduce the lower frequencies, and therefore also heavy plosives such as p’s and t’s.

  1. You record too loud

Try to always keep about 10dB of headroom while recording. This way you will prevent clipping and therefore ruining your recording.

Try not to record too soft as well, because you might just end up mostly with the noise from the gear you are using to record.

  1. Do multiple takes

Even though you think you just recorded a perfect take, always record at least to extra takes. It can always happen that you have an imperfection somewhere in the recording. An s that is too loud, timing issues, singing off pitch and so on. This way you always have a backup.

Bonus tip: mic shields

They are sold with the promise of being a fix for a bad room, yet it is better to spend your money on something else. Mic shields are a bit like the snake oil of the music world. They can’t live up to their promise. Most studio mics used when recording vocals only record sound from the front side. They reject sound from the back and part of the sides, and that is exactly where you would place the mic shield. For double the amount of a mic shield you can stack your studio with DIY acoustic panels and actually fix some issues!

Using reference tracks

It is an industry secret that there are in fact no industry secrets. Or are there… There might be one industry secret every mixing engineer or music producer has up his sleeve. And that is using a reference track.

If you spend so much time in your own world listening to a pair of monitors it is easy to loose perspective. A good way to refresh your ears and to make well informed choices is to use a reference track.

What are reference tracks?

A reference track is a track you use to compare certain elements of your mix.

How do you use a reference track?

The most is important stap is to level match your own mix to your reference track as close as possible. If you use a mastered reference track, make sure you use a limiter on your stereo bus to make it just as loud. Louder always sounds better, so that is the first obstacle you will have to tackle.

Use the meters in your DAW to check if your track has more or less the same values as your reference.

What do you listen to?

You can use a reference track to compare basically anything. Lyrics, melody, guitar sound, you name it.
As a mixing engineer you pay attention to the following:

Frequency range

First you will probably compare the frequency range of your track with your reference. Look at both ends of the spectrum: the sub and the very top. Use your ears, but don’t be afraid to use a spectrum analyser or EQ to check if you notice anything.

Listen and look for certain frequencies that stick out. If so, go back to your mix and try to find those elements.

Dynamics

The dynamic range of your mix is highly dependent of your genre, so make sure you have an appropriate reference track. Don’t compare the dynamics of a hiphop track with an acoustic pop track.

Use metering plugins to check what your track is doing in comparison to your reference. If needed, go back to your mix.

And so on

If you keep on going, you will notice more and more things. For example, you can listen to the placement of certain elements in the stereo field. Or select a specific range of frequencies with an EQ and check which elements are most prominent. Play your track at different volume levels to listen to which elements stick out at which volume (both loud and soft).

How to pick the right reference track

You can use basically any track, as long as the instrumentation and genre are relevant to your mix. Yet it is also important to use a professional mixed and mastered track. This way you will base your decisions on a professional quality.

If you need to review a mix for a client, try to use your own mix as reference, to check if you make the proper decisions.

Reference tracks are used by the biggest pro’s in the game. Try to see it as an opportunity to learn from them! You will notice you can work faster, better and smarter.

Gain staging

On the internet you can’t go anywhere without reading it. Everybody seems to be saying ‚mind the headroom‘, but what is it? Is there a specific set of values you need to mind as a producer? How can you structure your mix to get a consistent signal flow throughout?

What is gain staging

Gain staging is simply put the concept of keeping your signal flow as clean as possible.

Two important terms come to mind:

  • Noise floor
  • Headroom

In the age of analog recording equipment you had to deal a lot with noise, more than nowadays. All audio equipment, from microphones, to compressors, preamps and tape machines, would produce some form of noise. The trip was to record a signal as loud as possible, to prevent the softer parts from interfering with that noise. If you didn’t mind the noise floor, you would end up with a very noisy recording.While you are busy recording as loud as possible, you would run in to a second issue: headroom. Headroom is the amount of room you have before a signal will clip or distort.

Every recording medium has a finite amount of headroom. The will come a moment when a signal will be too loud for the mic or preamp. See also the article about distortion.

In the analog domain headroom is a gradual concept. Analog preamps and tape machines could be slowly driven into the red. At first a mild compression and saturation would occur that sounds nice. Eventually the saturation would get more intense and into heavy distortion

When gain staging in the analog domain you try to keep every signal in your chain as far above the noise floor without clipping it.

Gain staging in the digital world

Contrary to the old days noise floor is less of a problem nowadays. Most equipment is so silent you barely have to pay attention it. If you record too soft, just crank up the gain in your DAW. You will probably won’t hear any noise.

Modern equipment also has a much bigger headroom, but it still is a very important thing to mind. Where analog headroom is a gradual scale, in the digital domain you have the very abrupt threshold of 0dBFS which you should never exceed. If you do, you will clip directly. But up until that point there is no distortion or coloration whatsoever, so you have much and much more headroom.

At two points in your signal flow you should at least worry about gain staging. Because at these two points your signal will pass analog elements.

First your mic or line signal will need to pas your interface’s AD converter (Analog-to-Digital-converter). Second your final signal needs to leave your interface through your DAW (Digital-to-Analog-converter) to go to your monitors or headphones.

Therefore it’s still important to watch your levels. A good rule of thumb is to keep a threshold of -18dBFS (or 0dBVU). This way the peaks of your signal will can easily be higher without clipping.

Gain staging your plugins

Although the plugins in your DAW are all very much digital, a lot of plugins are emulations of analog gear (such as tape machines, hardware compressors and EQ’s, you name it). A good emulation will display the same amount of distortion as their hardware sibling. The louder the signal, the more discolouration will occur.

Obviously, you can use this to colour your track, but you have to be a bit more conservative with it. In your DAW it’s easy to stack plugin upon plugin upon plugin and you would end up using a lot more than if you were to use only hardware. If you would only slightly distort at each plugin, you would end up with a very distorted signal at the end, and not in the way you want to.

Just like with your ADDA converters, try to keep the signal flow between plugins at -18dBFS. This will optimise your gain structure and prevent unnecessary distortion.

If you up until this point have never bothered to check this, you will notice an immediate improvement in your mixes.

Don’t be afraid to lower a signal. If it makes your mix too soft, just crank up your monitors!

An overview of compressors

Together with EQ’s compressors are one of the most important tools in music production. You can use it to decrease the dynamics of a track, but you can also use it to shape a sound.

But with so many different kinds of compressors, when and where do you use which one?

A lot of digital plugins are emulating their analog counterparts. It’s important to learn how those units work to know how and when you should us it.

Roughly speaking there are five different kinds of compressors:


  • VCA compressors
  • FET compressors
  • Optical compressors
  • Variable Mu compressors
  • Digital compressors

In a previous article we talked about the basics of compression and how to use it. Now let’s dive a bit deeper.

VCA compressors

A VCA (or Voltage Controlled Amplifier) Compressor is one of the most transparent compressor. At the same time it can apply the most aggressive form of gain reduction. A VCA compressor will have a very fast attack time, which makes it very well suited for levelling bigger peaks. It is often used on drums, guitars or vocals. For a lot of mixing engineers it is also the go to compressor for your mix bus.

A VCA compressor has a lot of different controls (attack, release, threshold, knee, ratio), which makes it a very versatile tool.

One of the most well known VCA compressors is the SSL Bus compressor.

FET compressors

A Field Effect Transistor compressor uses, as the name already said, a transistor to reduce the signal. The transistor is the cheaper and more handy little brother to the vacuum tube.

A FET compressor has a very fast attack time. The slowest attack time on a FET compressor is often faster than the slowest setting on compressors such as the Variable Mu. A lot of people describe a FET compressor as punchy, which makes it very well suited for drums, guitars and vocals. This compressor will colour the sound slightly in a very nice and musical way.

The most well known FET compressor is the LA 1176, with the famous all-knobs in setting, which gives it an aggressive but warm sound

Optical compressors

Optical compressors, also known as opto compressors, use a light source to determine the amount of gain reduction. The input gain affects how much a light inside de compressor will shine. A photoconductive cell reacts to that intensity and translates that resistance to an audio signal. The speed of the compressor changes with the input gain.

An opto compressor usually has no attack or release setting, but has a gain knob (to decide how much signal will enter the compressor) and a knob for peak reduction.

And opto compressor is not as fast as a FET or VCA compressor, but is very well suited to level out a track (hence the second name: levelling amplifier). It responds to audio signals in a very smooth and musical manner. It is often used on vocals as the second compressor after a FET compressor. Here the FET compressor will control the peaks, and the opto will smooth out the track.

The most well known opto compressor is the LA2A.

Variable Mu compressors

A Variable Mu compressor is one of the oldest and rarest types of compressors. The circuit uses a vacuum tube to compress the signal. The louder the signal, the more gain reduction the compressor will apply. In electronics the term Mu stands for ‚gain‘. Therefore the compressor is also called a variable gain compressor, because you don’t adjust the threshold, but the input gain.

A Mu compressor doesn’t have a ratio to set. The louder the input signal, the higher the ratio will be. It is very well suited as a glue compressor to level out an entire track, without compressing each individual peak. It gives color and is often used by mastering engineers.

The most well known examples of a Variable Mu compressor are the Fairchild 670 and the Manley Vari-mu.

Digital compressors

Today we don’t necessarily have to rely on emulations. We can create compressors without copying earlier designs. Digital compressors will often have all the settings you would want a compressor to have (threshold, attack, release, knee, ratio, high pass, side chain) and are usually very clean sounding. They are great all rounders.